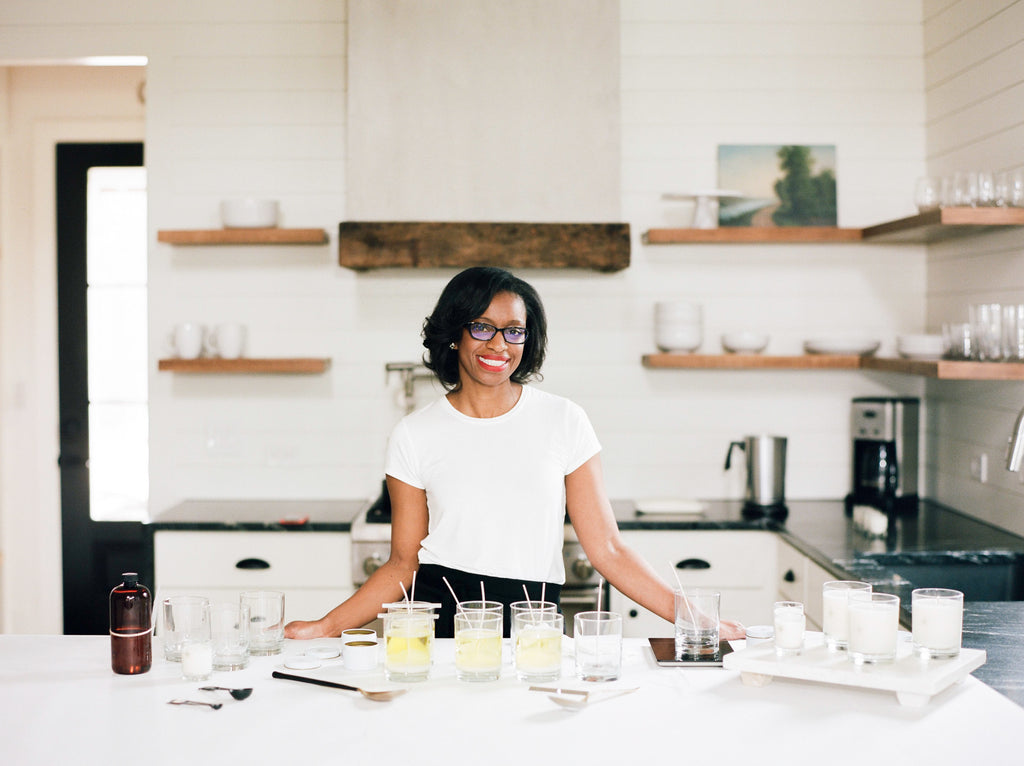
Hi, LJ here!
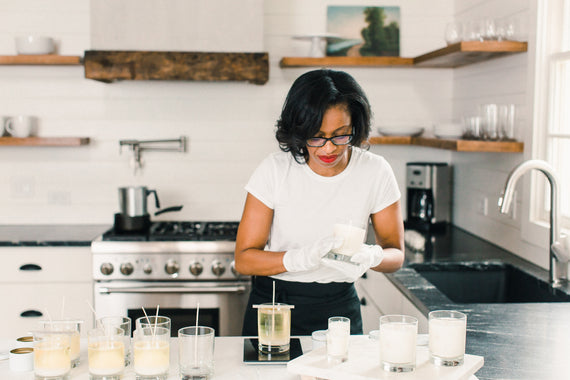
This past weekend I hosted nearly 300 mini candle-making experiences at Pinners Georgia! I was also fortunate to lead a Luxury Candle Making workshop experience to a sold out crowd. Combined that's over 500 people, thank you!
Our reach this weekend was far and wide and I'm truly grateful. As promised, I am opening up my 10+ years of candle-making experience to attendees. First deliverable: Luxury Candle Making Instructions. The instructions below are specific to the kit that I demonstrated in the workshop at Pinners Georgia.
I have included links to items that I've tried below for your convenience. Most candle suppliers do not have affiliate programs; therefore I am not receiving a commission for mentioning them. These opinions are my own and based on my years of using said suppliers. I did include links to Amazon products for supplies that aren't specific to raw materials (ingredients). These are examples for comparison and not intended as final recommendations. I'll continue to update the resource list in The Candle Making Academy by Atlas Candle Co. Facebook Community. Attendees receive exclusive access for 30 days. No purchase necessary. I will personally answer questions in the group until April 18, 2019.
If you were on the wait-list or listened to our workshop from the showroom floor follow us on Instagram for announcements. Access to The Candle Making Academy by Atlas Candle Co. will open to the public on May 1st for a limited time.
Luxury Candle Making 101
Safety Requirements: Familiarize yourself with the safety requirements before beginning your candling making project. The soy wax used in making candles is very similar to cooking oils – they are flammable and they will be poured at high temperatures. Your wax should NEVER come in contact with direct heat. You will need a double boiler to ensure the wax is melted properly in the pouring pitcher.
Materials: Ensure kit contents are within reach before beginning your candle making project.
Your Candle-making kit included pre-measured ingredients. For future projects you’ll need a scale for weighing out wax and 1oz. of fragrance oil or consider this Georgia vendor for fragrance oil. I recently discovered this local vendor. I am still forming my opinion about them. Stay tuned for more information by following us on your Social network on choice: Instagram , Facebook or Pinterest If you decide to use essential oils I recommend purchasing from Bramble Berry.
- For this project, you'll use the following:
- 16oz of Golden Wax 415 soy wax to make two 8 ounce tins
- 1 ounce of fragrance oil
- A stirring utensil
- 2 wick bars (Your kit included craft sticks/tongue depressor similar to the ones found on Amazon craft sticks)
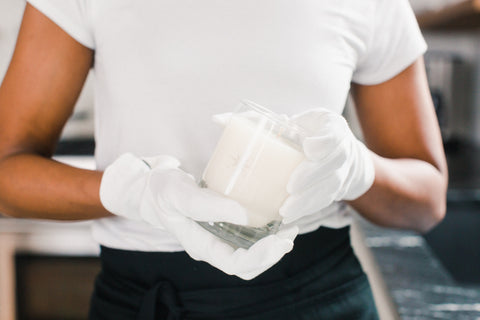
Finally, you’ll need two 8oz tins. Each tin is prepared with an Eco 14 wick, wick sticker and a warning label on the bottom.
Candle-Making Directions:
Step 1: First, place the pouring pitcher on the scale and tare it to zero. Next, weigh 16oz. of soy wax in the container. *If you purchased a kit during the Luxury Candle Making workshop experience at Pinners Georgia you can skip this step.
Melting point of 121-125° F. (Always check manufacturer's property description before heating. I've checked these extensively and tailored my recommendation base on the most recent GW 415 Soy Wax Certificate Performance Analysis. IAs mentioned during the workshop, each wax has a different melt point. I recommend sticking with one wax for the first few batches before switching or formulating your own blends.
I have always made a point to read reviews on sites. In many cases I throw out the top and bottom to level set. I like GW 415 as a starting point.
Step 2: Set a pot of water on the heating element and turn on the heat to bring the water to a slow boil. The water should only cover 1/3 of the pot. To create a double boiler – place a mason jar ring inside the pot of water and place the pouring pitcher on top of the mason jar ring. This will ensure the pouring pitcher and wax are NOT in contact with direct heat. As the wax starts melting use the thermometer to make sure the temperature of the melted wax does NOT exceed 180 degrees.
Heating your wax: (An ideal temperature ranges between 165°to 180°F is recommended to fully bind and mix your fragrance/essential oil with the wax.)
Place the container on a level surface and add 1oz of fragrance oil to the wax. I hand-blend my candles when temperature reaches a range between 106° to 165°. Be sure to mind the flash point of your fragrance oil/essential oil. Carefully stir the wax for two minutes, allowing the wax to cool. I like to stir in one direction for the first 60 seconds then switch to the opposite direction for the second 60 seconds.
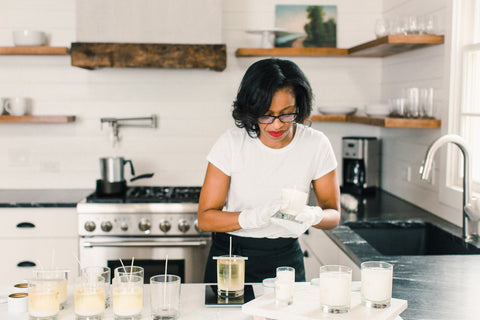
Suitable temperatures for pouring will vary by wax blend. For your project pouring temperature is around 160°F. Pour the wax into the tins, up to the indented ridge near the top of the container. I love the type of tins included in the kit. If you decide to use a different vessel make sure you use a scale to weigh the net weight of your vessel. Pro tip: Document the net weight of all your vessels. Use that to measure your raw ingredients for future projects.
After pouring, you'll need to center the wick in the tin with a wick bar and allow the candles to cool for a minimum of 24 hours.
After the wax hardens overnight, remove the wick bar and trim the wick to 1/4 of an inch. Next, you'll place the lid on top. Your candle will be ready to ignite after 24 hours. Post a picture of your kits and finished candles. I'm giving away a one hour consultation to the first person to post their finished project in The Candle Making Academy by Atlas Candle Co. Facebook Community.
Let your light shine!
LJ